Tuesday, March 26, 2013

Spinach and artichoke dip

Most of the times when we go out to eat in a local restaurant or diner we would scan through the menu for a long time and end up ordering spinach artichoke dip. This cheesy dip may make u feel guilty at first sight but who cares after the first bite. Think on the positive side...there's spinach..full of iron, vitamins and minerals..and there's artichoke high in antioxidants...and the cheese contains calcium. So a little bit of fat wont hurt right? (if we promise ourselves an extra workout the next day it could even be better). I wanted to try the recipe but I couldn't find a smaller version of the recipe serving 2-3 adults and I was not sure about the measure of the ingredients to make just a little for me and my husband. As days passed I totally lost the motivation.
Me and my friends get together at one of our homes and do potlucks once in a while. We usually do a theme like Chinese, Indian, tiffin, snacks etc.,. For the recent potluck we just ran out of ideas and we decided to make whatever we liked to do. Usually I take the dessert option for all the potlucks but for this one my friend overtook me and she wanted to make dessert (good thing she did..otherwise we would have missed the awesome dessert she made). I was ramming my head for days together to decide my recipe and suddenly it struck me..why not spinach and artichoke dip? So I made spinach and artichoke dip and vegetable quesadillas for the potluck and I am so glad that my friends liked it. It was so much that I still had some to share with my husband for dinner.

Things you'll need:

Spinach - 10 oz (I used frozen spinach)
Artichoke hearts - 14oz can
Parmesan cheese -  3/4 cup
Cream cheese - 4 oz
Mayonnaise - 3/4 cup
Mozzarella - 1/2 cup
Garlic  - 2 cloves, minced
Salt and pepper - to taste

Yield - 10 to 12 servings

Method:
Step1:
Preheat oven to 350 degrees. Chop the spinach finely. If using frozen spinach, squeeze the water out before chopping. Drain the artichoke hearts and chop them finely.

Step2:
Mix the spinach and artichoke with other ingredients in a wide oven-proof dish and combine until the cheeses and the veggies are mixed thoroughly.

Step3:
Bake for 20 to 30 minutes or until you see a brown edging.

Serve with tortilla chips, corn chips or toasted thin bread.


Adhirasam

Most of us south Indians know this sweet by the name Adhirasam or Ariselu. This is a traditional sweet we could see almost in all weddings or other family functions. Nowadays many sweet shops also sell this sweet. It has only two main ingredients jaggery and rice flour. But it is not simple to make it. Making soft adhirasams depend on the consistensy of the jaggery syrup we make and the quantity of flour we mix into the syrup. EVery Diwali I have tried to make Adhirasam and succeeded only couple of times. Along with the recipe I would also give some tips to get soft adhirasams and to avoid most common mistakes.

Things you'll need:
Raw rice - 2 cups
Jaggery - 1 cup
Water - 1/4 cup
Cardamom - 2, powdered
Oil - for deep frying

Yield - 20 - 25 pieces

Method:

Step1:
Wash and soak the raw rice for 2-3 hours. Drain the rice and air dry in a cloth for about 15 mins. The rice should be damp when touched but not wet. Grind the rice into fine powder.

Step2:
In a wide pan, heat the jaggery and water to make thick syrup until soft ball consistency. The soft ball consistency can be identified by putting a drop of the syrup in a bowl of water. The drop should not dissolve and it could be rolled into a soft ball. Add the cardamom powder to the syrup.

Step3:
Add the rice flour in small batches to the syrup and mix it to combine well without lumps. The dough will be in the consistency of cookie dough. Allow it to rest for at least a day in room temperature.

Step4:
Heat the oil. Take a lemon size ball of the dough and flatten it on a greased plastic sheet (you might want to grease your palms also to avoid dough sticking to your hands). Remove the adhirasam and fry them in the oil in medium heat. When the sizzling of oil is reduced turn the adhirasam and fry it until it is brown on both sides.


Step5:
Remove the adhirasam from oil and squeeze out the excess oil from the adhirasam by placing the adhirasam in a plate and pressing it with a flat bottomed bowl. (I think you get a ready-made press for adhirasams in some shops.)

Let it cool and it's all yours.


TIPS:
Use raw rice instead of ready-made rice flour. It might be a pain, drain and grind the rice but it is the key to make the best adhirasams.
You can use ghee for greasing the plastic sheet so the flavor of ghee would boost the taste of adhirasam.
The heat should be medium. Otherwise the adhirasam will be brown outside but will be uncooked inside and the dough will be squeezed out when u press the adhirasam.


Friday, February 22, 2013

Chicken lollipop

Who doesn't like lollipops? Even my kiddo who is not a big fan of candies like to suck on the lollipop for a couple of seconds.  I remember when me and my sister waiting for the lollipop my father used to get when he returns home from the market on Sundays. OK This is going somewhere else..no, I don't know how to make lollipops. I was trying to make a point that we all love lollipops just because its fun to hold and eat it. It is equally fun with chicken lollipops. In recent times whenever we visit an Indo-Chinese restaurant we end up ordering chicken lollipops just because my kid loves it and gobbles it up without a count. It made me think 'if she likes it so much why not make it at home?". So I decided to give it a try. Surprisingly it is not a very hard thing to make. The tough part is to cut them and make into lollipops which wasn't very hard considering its the first time I'm trying it. Rest all is very easy and you can munch in your lollipops in no time.

Things you'll need:
Chicken wings - 3 (you can make 6 lollipops with three wings)
Chilli powder - 1 tsp
Ginger garlic paste - 1 tsp
Soy sauce - 3 tbsp
Egg - 1
All purpose flour - 2 tbsp
Corn flour - 2 tbsp
Chilli sauce - 2 tbsp
Pepper powder - 1 tsp
Salt - to taste
Garlic - 2 cloves, finely minced
Green onions - 2, finely chopped
Red food color -  2 drops (optional)
Oil - for deep frying

Yield - 6 lollipops

Method:

Step 1:
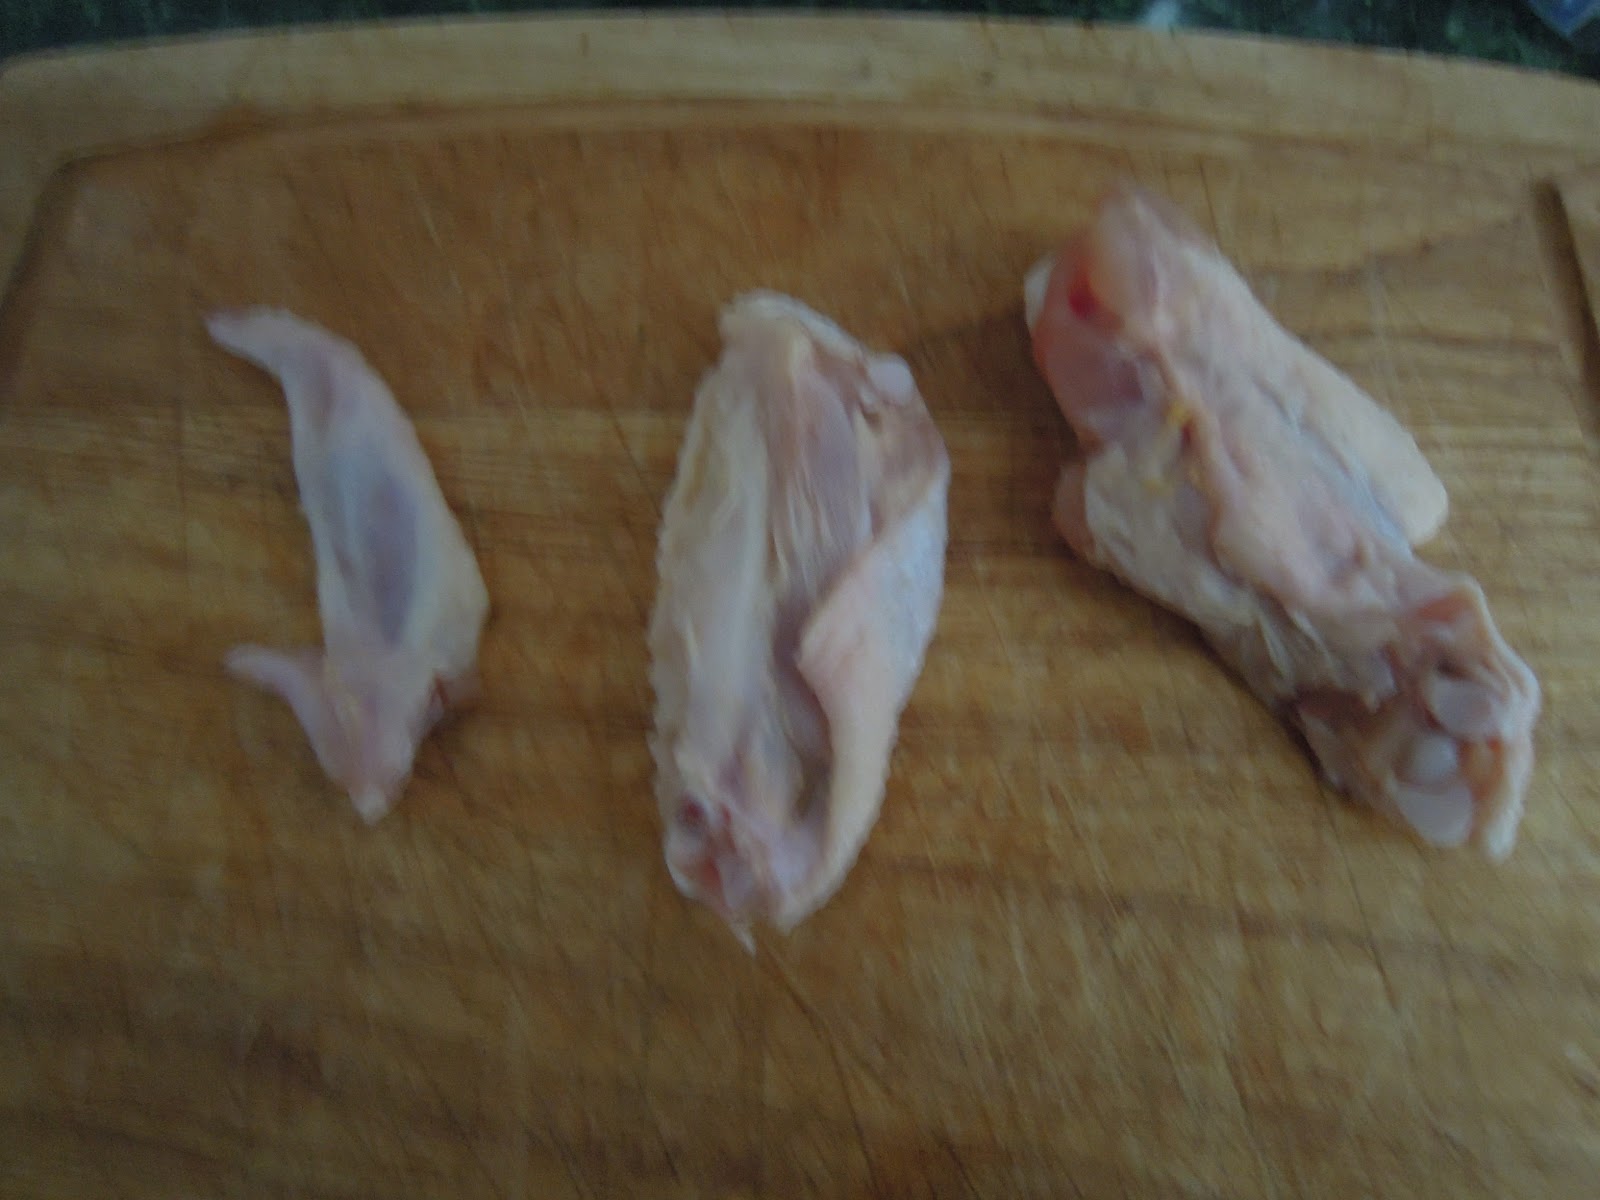
Cut the wings into three parts and discard the end portion. Make lollipops with each wings by cutting the meat at one end of each wing and pushing it towards the other end. Marinate the lollipops with chilli powder, ginger garlic paste, 2 tsps of soy sauce and salt (be careful when adding salt as soy sauce contains salt), and keep aside for 15 mins.


Step 2:
Prepare the batter with corn flour, all purpose flour, egg, 1 tbsp of soy sauce, 1 tbsp chilli sauce, pepper powder, food color and salt.

Step 3:
Heat the oil in a deep pan. Dip the lollipops in the batter and fry them in medium heat. (The heat should be in medium to allow the chicken to cook thoroughly).


Step 4:
Heat 1 tbsp of oil in a pan, saute the garlic and spring onions. Add the remaining soy sauce and chilli sauce and saute for couple of minute. Add a little water or stock mixed with 1 tsp of corn flour to the mixture and stir until it thickens. Add the chicken and mix well.


Garnish with spring onions and serve..get ready to receive the praises..

Wednesday, February 13, 2013

Mysore pak

I always wonder why this sweet has been given this name? I mistook pak to be beetle nut ('pakku' in Tamil means beetle nut). But it did not fit. Then after a lot of thinking I found it must be derived from 'paggu' meaning syrup. But still I haven't found what's Mysore referring to. Doesn't matter. I like the sweet whatever it's named. The yummy taste of this sweet goes back to my childhood days. This holiday season I decided not to buy Mysore pak but to make it at home. It is one of those sweets that are not very easy to make at home. The good part is it doesn't take much time (It took less than half an hour for making it including the prep work). But you need to be focused from the beginning till the end since everything had to be done very quickly that if you take your eyes for even a moment you'll miss the consistency. Still on for it? Check out the recipe..

Things you'll need:
Gram flour - 2 cups
Ghee - 1 cup
Oil - 1 cup
Sugar - 2 cups
Water - 1/2 cup

Yield -  25 to 30 pieces

Method:

STEP1:
Grease a pan with ghee or oil. Heat 2 tbsp of oil and add it to the gram flour. Mix well and sift the flour to avoid lumps. Mix the oil and ghee and heat it in a pan. Reduce the flame to minimum so that the oil and ghee stays hot.

STEP2:
Prepare sugar syrup to one thread consistency. When the syrup reaches one thread consistency  add the flour one tablespoon at a time. Keep stirring until the flour is incorporated well in the syrup.

STEP3:
Add the oil little by little and keep stirring until the mixture becomes frothy. (Be careful not to miss this stage. Otherwise the Mysore pak will become hard or crumbly.) Immediately pour the mixture into the greased pan. Give the pan a shake to even out the mixture. Let it cool for 15 mins. Cut the Mysore pak into slices. Allow it to completely cool down.

RELISH!!!
(Since everything had to be done very fast and I didn't have help I couldn't take any photos of the process. Will try to click the pics of each step when I try it next time.)


TIPS :
You can use ghee instead of ghee and oil mixture.
The color of Mysore pak depends upon the flame. If you need dark colored Mysore pak increase the flame a little higher.


Monday, December 10, 2012

Boondi laddu

This needs no introduction. People who are addicted to sweets just like me would definitely be in love with laddus be it boondi laddu, mothi laddu, rava laddu etc., The very thought of laddu makes my mouth water. From our childhood we couldn't even remember how many times have we tasted this sweet, one at a time or even more. But we never got bored of laddu or probably never will. Since this sounded a very tricky thing to make at home, I've always bought it rather than making it at home. I attempted once some time after my wedding, but all I got was only boondi and not laddu. After couple of years, one of my friends shared home made boondi laddu for their wedding day (or birthday?) and I was so impressed by the texture and taste of it and it was no different from the laddu we get in stores. I was also surprised when she told me it doesn't take much time and it's not very tricky to make it at all. She gave me some cheat codes on how to make perfect laddu without failure.
But I didn't get it perfect for the first time, but I got confident that I could make it at home and now if my husband asks me whether we could make laddus for an occasion I would never give a second thought.

Things You'll need:
Besan (chickpea flour) - 1 cup
Sugar - 1 cup
Water - 1/2 cup
Oil - for deep frying
Cashew nuts - 2 tbsp, chopped
Raisins - 1 tbsp
Cardamom powder or Rose essence - 1 tsp
Ghee - 2 tsp

Yield - 20-25 pieces

Method:

Step1:
Mix water to the besan little by little and make a batter of pouring consistency (it should not be very thin or watery). In a heavy bottomed vessel add sugar and water, stir until sugar is melted and bring it to a boil. Let it boil in a medium flame until one thread consistency is reached. (This should take five or six minutes after the syrup comes to a boil. Check by taking little syrup in a spoon and touching the syrup with your index finger and thumb. The syrup should for a single thread when the index finger  and thumb are stuck together and released.). Add the cardamom powder or rose essence to the syrup and switch off the stove.

Step2:
Using a ladle with holes ("jalli karandi")  pour the besan into medium hot oil, so that the besan forms into small balls (boondi) in the oil. Once the balls are fried and float above, pick them up, shake the excess oil and place the boondis in the hot syrup.

Step3:
Repeat with remaining batter. Before adding the last batch of boondis (or even couple of batches before the last) coarsely grind the boondis and add them to the syrup. This will help in binding the boondis together. Mix the boondis well into the syrup.

Step4:
Heat the ghee in a pan and fry the cashews and raisins. Add them to the boondi-syrup mixture. When the syrup is warm enough to handle, scoop a handful of boondi-syrup mixture and press it into a laddu. Repeat with remaining boondi-syrup mixture. Let it cool for sometime until the laddus are bound together and they are all yours.

Baklava!!!

I didn't know that a dessert named baklava existed before my friend brought this for us when we met in the park. She was suddenly caught with desire to cook desserts and lucky for us we got something to snack every other day we meet in the park. This is a greek dessert not very easy to make, but uses very less ingredients tastes yummy. I made this for a get together, for the first time and got a lot of appreciation. There's nothing to go wrong in this and with a little bit of painting experience (I am not kidding when I say this) you could do this very quickly.

Things you'll need:
Filo dough (you could find it the freezer section of your supermarket) - 1 pack (contains about 20 sheets)
Sugar - 1 cup +1tbsp
Water- 1/2 cup
Mixed nuts (almonds, walnuts,pecans) - 2 cups (coarsely ground)
ground cinnamon - 1 teaspoon
Pistachios - a handful, coarsely ground
Butter - melted, as required, for brushing the dough

Yield - 24 pieces
Method:
Step 1:
Preheat the oven to 375 degrees.
Remove the filo dough from the wrap and place it flat on the counter covering with a damp kitchen towel. This prevents the dough from getting dry and breaking. Mix cinnamon and 1 tbsp sugar into the nut mixture.


Step2:
Grease a shallow bake pan, arrange one of the filo sheets and brush it with butter (brush liberally to cover the entire sheet). Repeat with 6 more sheets. Divide the nut mixture into halves. Layer one half on the filo dough layer.


Step3:
Arrange seven filo sheets one by one, brushing each sheet with butter, above the nut layer. Layer the remaining half of the nut mixture on top of the filo layer. Arrange the remaining filo sheets, one by one, brushing each one with butter.


Step4:
Sprinkle the pistachios on top, score the sheets into 24 pieces (you don't have to cut through, just score it gently). Place it in the oven for 30 to 45 minutes.

Step5:
Prepare sugar syrup with 1 cup of sugar and 1/2 cup water. (There is no consistency constraint here..so a not-so thick syrup should do..)

Step6:
When the baklava is ready, Remove it from the oven and pour the sugar syrup evenly over the baklava and allow it to cool.

Wait!  not yet...Chill it in the refrigerator for at least an hour or overnight for best results..and there's nothing stopping you from savoring the delicious baklava..


Pullover newborn sweater

Nowadays crochet craze is eating me up more than I eat my food..So I am ending up putting crochet posts rather than recipes in recent times. But I guess this is going to be my last crochet time for a quite sometime. My husband is also helping me improve my crochet skills by giving me new ideas. One such idea was this newborn sweater for his friend's newborn son. I have crocheted button-on sweaters for couple of friends' newborns, but this time my husband suggested to do a pullover sweater. But I found patterns for jackets or cardigans but couldn't find one-piece pullover sweater pattern. I was a bit lazy to do front, back and sleeves separately and attach them. So I did a mix of the cardigan pattern and my own pattern.  I also did a matching beanie cap.


Pattern for the sweater:
Chain 38.
Row1:
Double crochet in third chain from the hook and all the chains. (36 DC)
Row2:
Chain 3, turn DC in next 5 stitches, (DC,chain 1,DC) in the next stitch.
DC in the next 4 stitches, (DC,chain 1, DC) in the next stitch.
DC in the next 12 stitches, (DC, chain 1,DC) in the next stitch.
DC in next 4 stitches (DC,chain 1,DC) in the next stitch.
DC in the next 6 stitches.
Rows 3-6:
Chain 3 DC in each stitch across, (DC,chain 1,DC) in each chain 1 space.
Row 7 (Forming armholes):
Chain 3 DC in each stitch, when you reach the chain 1 space, fold the piece such that the 1st and 2nd chain 1 spaces are aligned and DC in the chain spaces together.
For reference you can view this video:
http://www.youtube.com/watch?v=4ZQJohHaMF4&list=PL4B355BC209651362&index=10

Repeat the same for the next chain 1 spaces. Continue DC in the rest of the stitches.

After finishing the last DC in the 7th row, slip stitch in 3rd chain of the first DC of the same row.
Rows 8-13:
Chain 3, DC in each stitch across, slip stitch with 3rd chain of beginning chain.
(I used red and yellow alternatively. You can either follow a single color or change colors between rows.)
After slip stitching the last row cut your yarn from about 2 inches of length, pull the loop out and tighten the yarn.

Sleeves:
Join the yarn at the joint of the arm holes and body part, chain 3, DC in each stitch across and slip stitch in the 3rd chain of the beginning chain.
Continue this pattern for as many rows you want.
(Make sure you have equal number of DC in each row, so that the sleeves look even.)

Refer to:
http://www.youtube.com/watch?v=HosVpcU0s7Q&list=PL4B355BC209651362&index=16

Edging: (For the neck, arms,and waist)
Join yarn, chain 1 and single crochet in each stitch across, slip stitch at the beginning chain.


Here's the finished sweater...


I made a matching hat with the sweater which is a regular beanie with ear flaps whose pattern you might find in youtube.