Showing posts with label Non-vegetarian. Show all posts

Friday, February 22, 2013

Chicken lollipop

Who doesn't like lollipops? Even my kiddo who is not a big fan of candies like to suck on the lollipop for a couple of seconds.  I remember when me and my sister waiting for the lollipop my father used to get when he returns home from the market on Sundays. OK This is going somewhere else..no, I don't know how to make lollipops. I was trying to make a point that we all love lollipops just because its fun to hold and eat it. It is equally fun with chicken lollipops. In recent times whenever we visit an Indo-Chinese restaurant we end up ordering chicken lollipops just because my kid loves it and gobbles it up without a count. It made me think 'if she likes it so much why not make it at home?". So I decided to give it a try. Surprisingly it is not a very hard thing to make. The tough part is to cut them and make into lollipops which wasn't very hard considering its the first time I'm trying it. Rest all is very easy and you can munch in your lollipops in no time.

Things you'll need:
Chicken wings - 3 (you can make 6 lollipops with three wings)
Chilli powder - 1 tsp
Ginger garlic paste - 1 tsp
Soy sauce - 3 tbsp
Egg - 1
All purpose flour - 2 tbsp
Corn flour - 2 tbsp
Chilli sauce - 2 tbsp
Pepper powder - 1 tsp
Salt - to taste
Garlic - 2 cloves, finely minced
Green onions - 2, finely chopped
Red food color -  2 drops (optional)
Oil - for deep frying

Yield - 6 lollipops

Method:

Step 1:
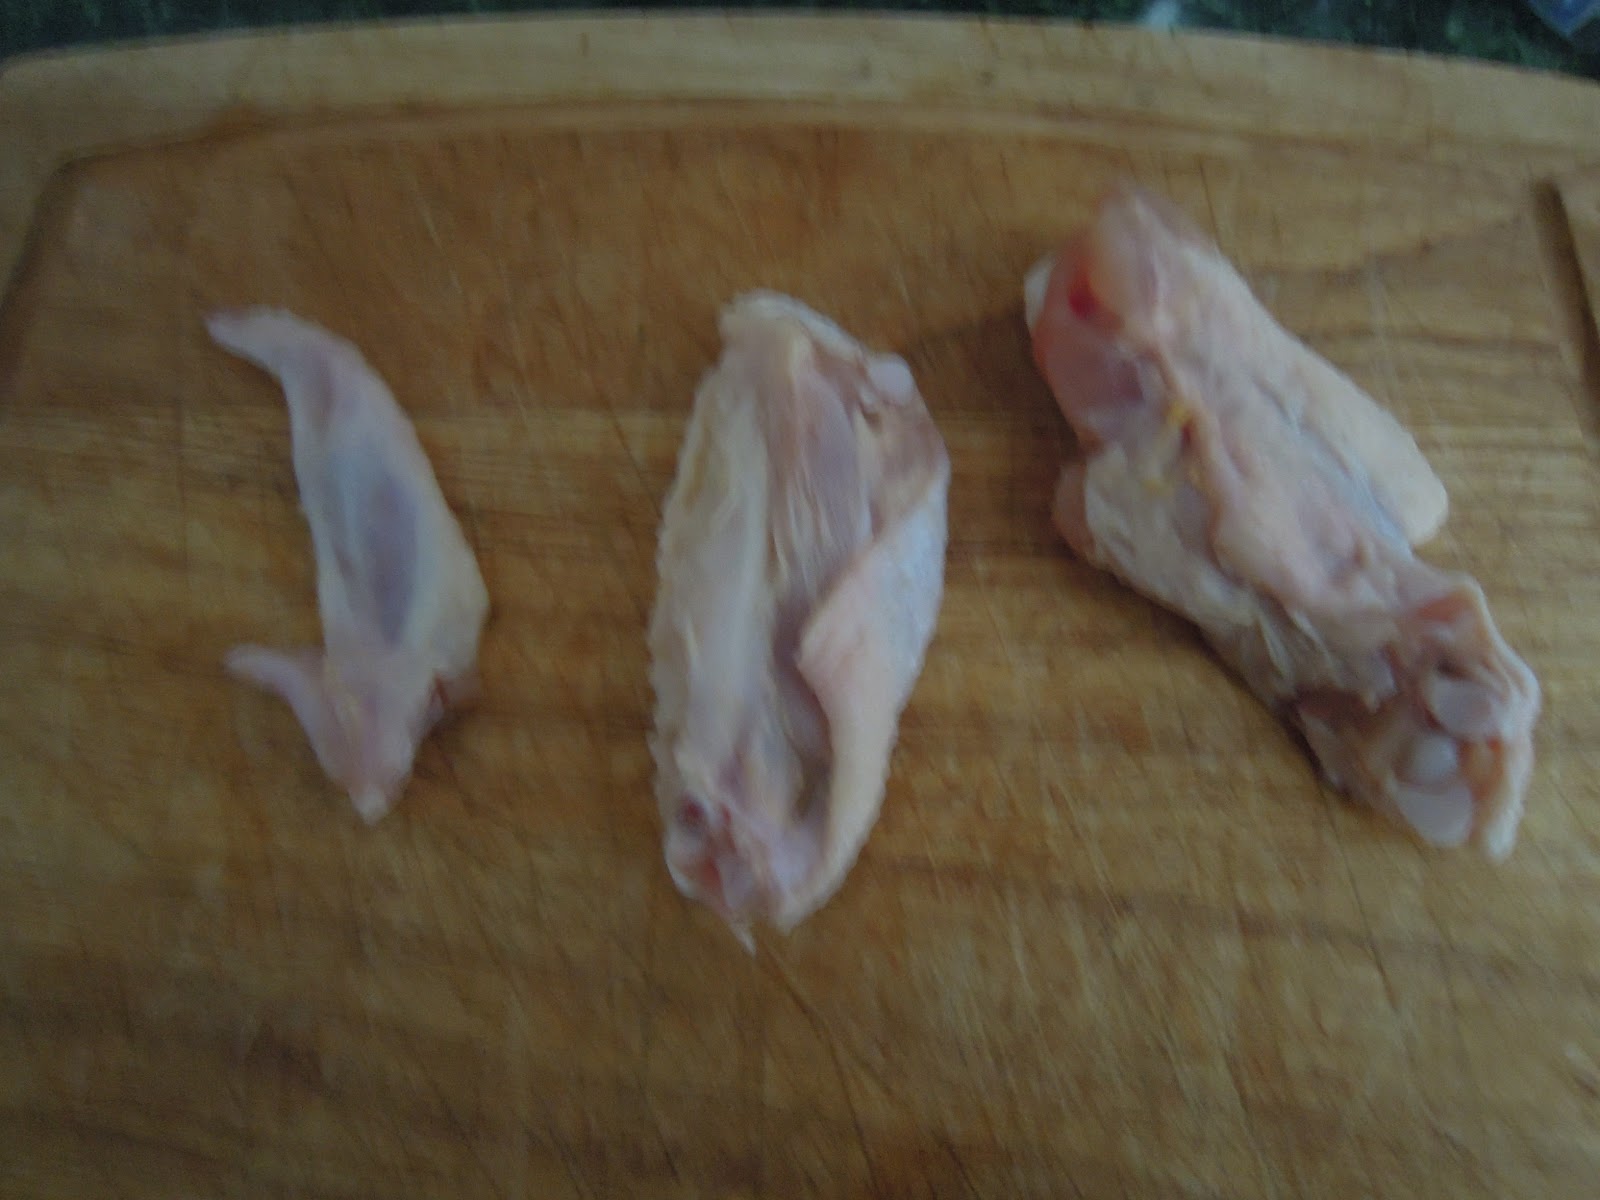
Cut the wings into three parts and discard the end portion. Make lollipops with each wings by cutting the meat at one end of each wing and pushing it towards the other end. Marinate the lollipops with chilli powder, ginger garlic paste, 2 tsps of soy sauce and salt (be careful when adding salt as soy sauce contains salt), and keep aside for 15 mins.


Step 2:
Prepare the batter with corn flour, all purpose flour, egg, 1 tbsp of soy sauce, 1 tbsp chilli sauce, pepper powder, food color and salt.

Step 3:
Heat the oil in a deep pan. Dip the lollipops in the batter and fry them in medium heat. (The heat should be in medium to allow the chicken to cook thoroughly).


Step 4:
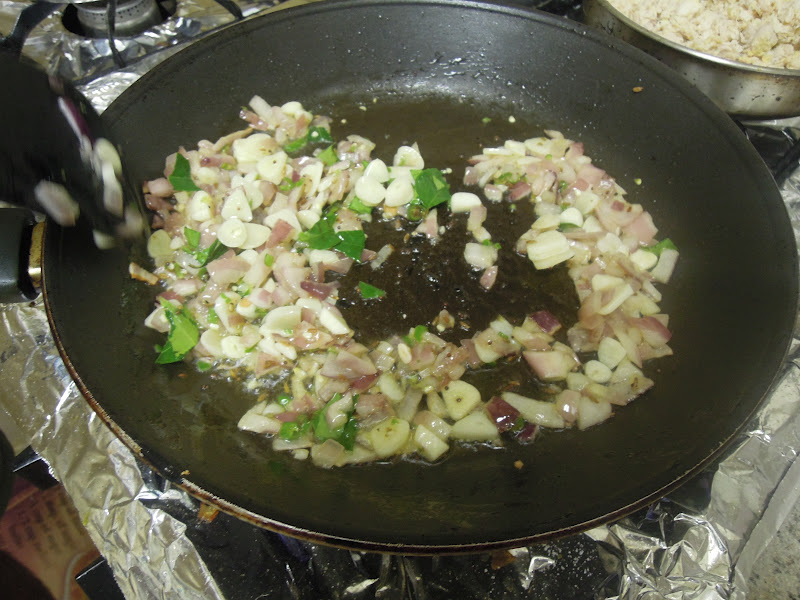
Heat 1 tbsp of oil in a pan, saute the garlic and spring onions. Add the remaining soy sauce and chilli sauce and saute for couple of minute. Add a little water or stock mixed with 1 tsp of corn flour to the mixture and stir until it thickens. Add the chicken and mix well.



Garnish with spring onions and serve..get ready to receive the praises..

Friday, September 28, 2012

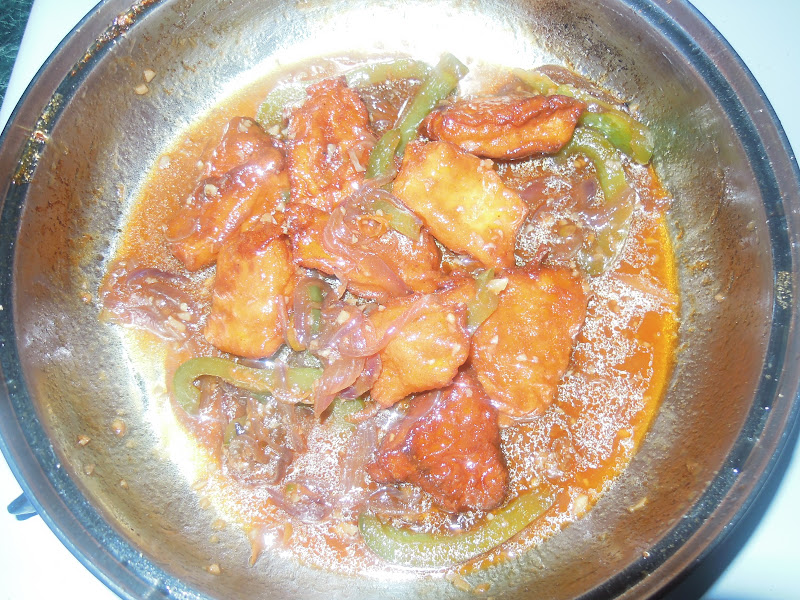
Chilli fish (gravy)

Indo-chinese recipes are my all time favorite. Whenever I want to take time off from my regular dishes and do something special for dinner or lunch I opt for Indo-chinese food without blinking an eye. Usually it will be a Manchurian and fried rice. But this time I wanted to do a seafood special. Chilli fish is the first thing came to my mind. We usually go for chilli fish with fried rice/noodles when we do a take-away. Somehow I thought it takes a lot of time to prepare it and hence never attempted to give it a try. Yes, it took a bit of my time but it wasn't so complicated as I thought. I made it for a Saturday dinner and served with veggie stir fry noodles.

Things you'll need:
Fish fillets - 2 (tilapia or any firm fish)
Soy sauce - 2tbsp + 2tsp
Chilli sauce - 1tbsp+1tsp
Corn flour -  2 tbsp
Salt - as needed
Food color (orange or red) - a pinch (optional)
Garlic cloves - 3, finely chopped
Onion - 1, cubed or slit lengthwise
Bell pepper (green or mixed colors) - 1 cup, cubed or slit lengthwise
Tomato paste - 1 tsp
Green onions - 2, finely chopped


Oil - for deep frying the fish and sauteing the vegetables

Yield - 2 Servings

Method:

Step1:
Cut the fillets into small pieces. Mix the cornflour, 2 tsp of soy sauce, 1 tsp of chilli sauce, salt and food color (optional) in a bowl.

Step2:
Coat the fish pieces with the corn flour mixture and deep fry them in small batches. Let them sit on a paper towel.

Step3:
Heat a little oil in a pan, saute the onion, garlic and bell pepper, uncovered in medium low, until the vegetables are cooked but little crunchy. Add the tomato paste, 2 tbsp of soy sauce, 1 tbsp of chilli sauce and salt. Bring to a boil.


Step5:
Reduce the heat to low and cook the sauce for a couple of minutes. Add the fillets, mix it well, switch off the stove and garnish with green onions.


Serve it with fried rice or noodles

Tips:
Use dark sesame oil for more authentic effect. You could also use some toasted sesame seeds for garnishing.
If you prefer a thicker gravy, mix 2 tsp of cornflour in  1/4 cup of  water and stir into the boiling gravy. The gravy will thicken in couple of minutes. 

Friday, June 15, 2012

Sura puttu..(Spicy shark hash)

This recipe was one of my favorite seafood recipes since I remember. I still remember my dad getting the whole shark from the fish market, my mom cleaning and cutting the shark, and of course preparing the sura puttu. As a child I didn't really appreciate the effort that's behind this wonderful recipe. I only enjoyed the end product. Only after I started cooking, did I realize the dedication and effort behind each food we prepare and the satisfaction we get when the dish comes so well and gets praised by others. Luckily for me, after coming to US, cooking is not always done from scratch, because from meat to vegetables we get most of them them pre-cut or frozen. We sometime get shark fillets in our nearby grocery store. It doesn't taste as good as fresh shark but something is better than nothing. So we doesn't miss a chance when we see fresh (partially) shark fillets in the store. Sura puttu is always sura puttu, fresh or not.
Now to the recipe..

Things you'll need:
Shark - 1 lb
Onion - 2, medium, chopped
Garlic - 10-15 cloves, minced (or more if you like the garlic flavor)
Green chillies - 5, minced
Curry leaves - a handful
Coriander leaves - for garnishing
Salt - to taste
Turmeric powder - 1 tsp
Oil - 2 tbsp


Yield - 3-4 Servings

Method:

Step1:
Clean and cut the shark into medium size pieces. In a pan, bring two cups of water to boil. Add the shark pieces with the turmeric powder and cook covered for five mins or couple of mins more. That's enough for the shark to become soft. (If it stays rubbery even after 10 mins, there's no point in using them for sura puttu ). Let it cool.

Step2:
Remove the skin from the shark pieces, if any, and gently shred the shark pieces with your hands. If you find bones in the shark, don't throw them away. It will enhance the flavor of the sura puttu.

Step3:
In a deep frying pan, heat the oil, add the onions and fry until golden brown. Add the green chillies, garlic and  curry leaves. Add a small pinch of turmeric powder. Now add the shark pieces and salt.
Mix well and cook for few minutes until the sura puttu is dry.


Serve with rice and your choice of curry or rasam.


Thursday, April 19, 2012

Ground chicken curry (Chicken kothu kari kuzhambu)

This is a spicy coconut-based curry which is very easy to make, doesn't need any frying like the regular 'kola urundai' kuzhambu, and tastes so yummy. I got the packed ground chicken for this recipe..you can either get the packed one or if you don't have it in hand, you could just grind some boneless breast meat in a mixer/grinder (make sure to wash the jar thoroughly after grinding, because the ground meat sticks to the blades).

Things you'll need:

For the meat balls:
Ground chicken - 1 lb
Onion - 1, medium, finely chopped
Green chillies  - 2 minced
Ginger garlic paste - 2 tsp
Curry leaves - 2 or 3, chopped
Coriander leaves - 2 or 3 sprigs, chopped
Chilli powder - 1 tsp
Turmeric powder - 1/2 tsp
Salt - as required

For the curry:
Onion - 1, big, chopped
Tomato - 2, chopped
Ginger garlic paste - 1 tbsp
Curry leaves - a handful
Ground coconut paste - 1/2 cup
Chilli powder - 2 tsp
Coriander powder - 1 tbsp
Turmeric powder - a pinch
Salt - as required
Fennel seeds - 1 tsp
Oil - for sauteing

Yield - Serves 4-5 persons

Method:

Step 1:
Prepare the meatballs by mixing all the ingredients under meatball section. Shape them into gooseberry size balls. Keep aside.


(I saved some meat mixture and shaped them into kababs for grilling!!!)
Step 2:
Heat the oil in a pan, add fennel seeds. When the seeds start to crackle, add the onions and fry them until translucent. Add the ginger garlic paste and saute them until raw smell is gone, then add the tomatoes. When the tomatoes are soft and cooked, add the turmeric, chilli and coriander powders, salt and 1 cup of water. Stir well, bring it to a boil.


Step 3:
Add the meat balls and cook the curry covered, in medium flame, until the oil separates. Add the coconut paste and further cook it in medium high flame, for few minutes. Switch off the stove. Garnish with coriander leaves if you like.


Serve with hot rice or rotis. Also goes well with idli, dosa or aapam.


Monday, April 9, 2012

Hyderabadi mutton 'Dum' Biriyani

I feel so dumb to say I like biriyani..Who doesn't?. If you are a non-vegetarian you sure do like biriyani. There are different varieties of biriyani depending upon the methods to prepare the biriyani. The most popular one is the hyderabadi dum biriyani which I wanted to try for a long time. But authentic dum biriyani seemed a very complicated process with layering the rice and curry in a big vessel, sealing it, placing it in a hot tava at low heat (I've heard some even add some hot charcoal at the top of the vessel to transfer heat from the top of the vessel)..whew! I got tired thinking about all these processes..I thought there should be a simpler way which takes less time without compromising the taste (without the charcoal thing especially). I made some research (no..I just browsed the web) and found that some had found success making this dum biriyani in oven. Wow! that simplifies it. It doesn't take much time and there's no worrying about rice burning out at the bottom of the vessel. Here's the dum 'oven' biriyani..

Things You'll need:
Mutton - 1 lb
Basmati rice - 1 cup
Onion - 1, big, sliced lengthwise
Green chillis - 4, slit lengthwise
Ginger garlic paste - 1 tbsp
Curd or yogurt - 1/2 cup
Chilli powder - 2 tsp
Coriander powder - 1 tbsp
Salt - as required
Turmeric powder - 1 tsp
Lemon juice - 1 tbsp
Whole garam masala - (cinnamon, cloves, bay leaves) as required
Oil - 3 tbsp
Cumin seeds - 1 tsp
Cardamom  - 1
Mint leaves - a handful
Coriander leaves - a bunch

Yield - 3-4 Servings

Method:

Step 1:
Clean the meat. Preheat the oven to 450 degrees. Marinade the meat with the chilli powder, coriander powder , turmeric powder, half of the ginger garlic paste, salt, yogurt and lemon juice. Leave it aside for at least an hour or even overnight if possible.

Step 2:
Heat the oil in a pressure cooker, add the whole garam masala, onions, green chillis and ginger garlic paste. Saute until the onions are translucent and soft. Add the marinated mixture and mix well. Add little water and cover the cooker. Cook the meat for 6-7 whistles or until the meat is almost done.

Step 3:
Bring some water in a vessel. Add the rice, salt, cumin seeds and cardamom. Cook the rice until the rice is half-cooked (The rice should look grainy but should be soft when touched).

Step 4:
Drain the rice. Layer half of the the meat mixture and rice in an oven-proof dish. Add some of the mint leaves and coriander leaves. Again layer the remaining meat mixture and rice and top it with the remaining mint and coriander leaves. If you like some colored rice, mix some saffron in teaspoon of milk and add it by spoon at some points of the rice layer.

Step5:
Cover the dish with an aluminium foil and seal the edges so that the steam doesn't escape. Place the dish in the oven and cook it for 10 to 15 minutes depending upon the oven. Remove the dish, allow the steam to settle. Then open the foil and fluff the rice. Don't stir too much or the rice will break. Serve it hot with raita and curry of your choice. I served it with keema gravy and raita.


Spicy fish curry

If you search for fish curry in the Internet, most of the results would be the one including coconut paste/milk. My style fish curry is always the no-coconut and ultra spicy version. If the  fish is fresh the curry would be at its best. If you love the spice and seafood combination, this one's definitely for you.

Things you'll need:
Fish slices - 1/2 lb
Onion- 1,big, chopped
Tomato - 2 chopped
Tamarind - golf ball size
Chilli powder - 1 tbsp
Coriander powder - 2 tbsp
Turmeric powder - 1/2 tsp
Salt - as required
Oil - 2 tbsp
Fenugreek seeds - 1 tsp
Black pepper (whole) - 1 tsp
Curry leaves - a handful
Green chilli (optional) - 1
Garlic - 4 or 5 cloves, crushed

Yield - 3-4 Servings

Method:

Step 1:
Clean the fish slices. Soak the tamarind in hot water and extract the pulp. Heat the oil in a pan, add the fenugreek seeds and pepper. When the fenugreek seeds turn slightly reddish and the pepper pops, add the onion (Don't let the fenugreek seeds to darken or the curry will have a bitter taste). Saute the onion till it is translucent, add the crushed garlic, saute for a minute and add the tomatoes and curry leaves.

Step 2:
When the tomatoes are cooked, add the chiili powder, turmeric powder and coriander powder. Mix well, leave it for sometime until the masalas are cooked and add 1/2 cup of water and the tamarind juice. Let it boil. When the curry is boiling add the fish without reducing the heat. Let it come to a boil again. Add salt, give it a stir, cover it and cook until the fish is cooked and oil separates at the top. The spicy fish curry is ready to be served with hot rice.

NOTE: One more method to simplify the cooking process is to mix all the spice powders and salt in the tamarind juice, add some water to it and add it to the pan after sauteing the vegetables. The rest of the process is same.


Thursday, March 15, 2012

Baked Mahi Mahi

I think the most universally common way to cook fish is to marinate them with desired marinade and fry them. But there are some fishes that tastes good when the are grilled or baked. One such fish is Mahi Mahi. The first time we got  Mahi Mahi, I marinaded the fish as usual and fried. But it turned hard and did not taste very good. Recently we had grilled Mahi Mahi in a taco, and it tasted so yummy. That's when I knew like Salmon Mahi Mahi has to be grilled or baked and should not be cooked for a long time. Even after all these discoveries I managed to slightly overcook the fish and it turned rubbery. So its very important to be very careful not to leave the fish in the oven or grill for too long. Now for the recipe..

Things you'll need:
Mahi Mahi - 1 lb
Olive oil - for brushing the fish
Chilli powder - 1 tsp
Turmeric powder - 1 pinch
Salt - as required
Lemon juice (optional) - few drops

Yield - 6 - 10 pieces (Depends upon the size of each piece)

Method:

Step1:
Preheat the oven to 500 degrees. Clean and cut the fish into slices of desired size. Place them either directly on a baking sheet or on a rack placed above the baking sheet (If you prefer skin-on, place the fish flesh-side up ). Make sure to line the baking sheet with foil to collect any dripping from the fish.

Step2:
Mix the chilli powder, turmeric powder, salt and lemon juice. The mix should be dry. Brush each piece of the fish with olive oil, then rub them with the spice mixture.

Step3:
Turn the oven to broiler setting and bake the fish for 15 mins (turning the fish in between, if required) or until the fish flakes when picked with a fork.


Serve it with few drops of lemon juice.


Saturday, March 10, 2012

Chicken poorna kozhukattai masala (chicken filled rice dumplings in coconut gravy)

This recipe was inspired from one of my friends' recipe she brought for a potluck. She had made a vegetarian version of  'kari kozhukattai' which is a popular dish in their native. It consists of  'kozhukattai' s soaked in mutton gravy. But for the potluck she had made a vegetarian gravy in which she had soaked the rice dumplings. It was so delicious. I was talking to my husband about the potluck and this dish which I tasted for the first time. Unfortunately there wasn't much left overs for us to take home. So my husband didn't have the chance to taste it. But his antennae started to brighten as usual on hearing about this recipe and wanted to try this out at once. But he had a different version in mind. Here's the result...Chicken poorna kozhukattai masala.
Things you'll need:
Ground chicken - 1/2 lb
Onion - 1, chopped
Tomato - 2, chopped
Ginger garlic paste - 2tsps
Curry leaves - a handful, minced
Coriander leaves - few sprigs, chopped
Green chillis - 2, minced
Chilli Powder - 1 tsp + 2 tsp
Coriander powder - 1tsp
Turmeric powder - 1/2 tsp + 1/2 tsp
Rice flour - 1 cup
Grated coconut (optional) - 1/4 cup
Salt - as required
To grind :
Coconut - 1/4 cup
Poppy seeds - 2 tsp (soaked in little warm water)
Cinnamon - 1 inch piece
Cloves - 3
Fennel seeds - 1/2 tsp

Yield - 12-14 pieces
Method:
Step1:
Prepare the filling or 'poornam' by sauteing half of the onions, green chillis, half of the curry leaves, coriander leaves, ground chicken, and salt, in little oil. Turn off the stove when the chicken is almost done. Add the grated coconut (optional), salt to the rice flour and make a soft dough with warm water. You can even prepare the dough by stirring in the rice flour in warm water. This doesn't work for me, so I have chosen the kneading method.


Step2:
Divide the dough into equal parts. Make a cup of each part and fill the chicken filling in the cup and close it so that the kozhukattais are shaped like a ball. Steam the dumplings until they are cooked. Please ensure they are not overcooked and remain soft. Don't leave them open until you have prepared the gravy as this leaves them dry and make it difficult to get soaked in the gravy.


Step3:
Prepare the gravy by sauteing onions, ginger garlic paste, curry leaves and tomatoes in order, and adding chilli powder, turmeric powder, coriander powder and salt. Add little water to avoid the masalas sticking to the pan. Cover and cook for few minutes (Don't get alarmed by seeing the egg in the gravy, it has nothing to do with the recipe..It was for my kiddo :)). Once the gravy is cooked, add the ground coconut paste and 1/4 cup water and let it boil for couple of minutes. You could make some holes in the dumplings with a fork , but be careful not to break them.


Step4:
Let it stand for few minutes so that the kozhukattai s are well soaked in the gravy. You can either have this as it is or with rice or bread of your choice.


Friday, March 2, 2012

Kung Pao Chicken

This is a traditional Sichuan recipe supposedly named after a governor of Sichuan province. In any Chinese restaurant this dish would be definitely in the menu. This dish is also my favorite as well as my husband's. I would not say this is an easy-to-make recipe, but since I used ready made Kung Pao sauce it didn't take me much time to prepare this dish. If you couldn't get ready made sauce you could also prepare Kung pao sauce ahead using some soy sauce, rice wine, rice vinegar, sugar, cornstarch and chilli sauce.

Things you'll need:
Chicken - 1/2 lb
Vegetables of your choice (cubed) - 2 cups (I used zucchini and baby corn)
Soy sauce - 1 tbsp
corn starch - 1 tbsp
ginger - 1/2 inch piece (minced)
garlic - 2 (minced)
Spring onion - 2 (chopped)
red chillis -  3
Roasted peanuts - handful
Kung Pao sauce - 2 tbsp
egg - 1
Oil - for frying the chicken

Yield - 2 - 3 Servings


Method:

Step1:
Clean and cube the chicken. Marinade the chicken with 2 tsps  soy sauce, egg, and 2 tsps corn starch. Keep aside for 10-15 mins. Heat the oil in the pan and fry the chicken pieces. Drain them and place them in a bowl lined with a tissue.

Step2:
Heat some oil in a pan (you can use sesame seed oil for better taste) in medium heat, add the red chillis, when the chillis are just brown (see that the chillis are not burned). Add the ginger and garlic and the vegetables. saute the vegetables until they are almost done. Don't cover them while cooking, the vegetables should be crisp.

Step3:
Add the soy sauce, Kung Pao sauce, little salt (go easy on the salt since soy sauce has salt in it), and 1/2 cup water. Stir well and add the chicken  and the peanuts. Add the corn starch and stir quickly to thicken the sauce. Garnish with spring onions.

Serve with stir fry noodles or fried rice.

This recipe can be substituted exclusively with vegetables.