Who doesn't like lollipops? Even my kiddo who is not a big fan of candies like to suck on the lollipop for a couple of seconds. I remember when me and my sister waiting for the lollipop my father used to get when he returns home from the market on Sundays. OK This is going somewhere else..no, I don't know how to make lollipops. I was trying to make a point that we all love lollipops just because its fun to hold and eat it. It is equally fun with chicken lollipops. In recent times whenever we visit an Indo-Chinese restaurant we end up ordering chicken lollipops just because my kid loves it and gobbles it up without a count. It made me think 'if she likes it so much why not make it at home?". So I decided to give it a try. Surprisingly it is not a very hard thing to make. The tough part is to cut them and make into lollipops which wasn't very hard considering its the first time I'm trying it. Rest all is very easy and you can munch in your lollipops in no time.
Things you'll need:
Chicken wings - 3 (you can make 6 lollipops with three wings)
Chilli powder - 1 tsp
Ginger garlic paste - 1 tsp
Soy sauce - 3 tbsp
Egg - 1
All purpose flour - 2 tbsp
Corn flour - 2 tbsp
Chilli sauce - 2 tbsp
Pepper powder - 1 tsp
Salt - to taste
Garlic - 2 cloves, finely minced
Green onions - 2, finely chopped
Red food color - 2 drops (optional)
Oil - for deep frying
Yield - 6 lollipops
Method:
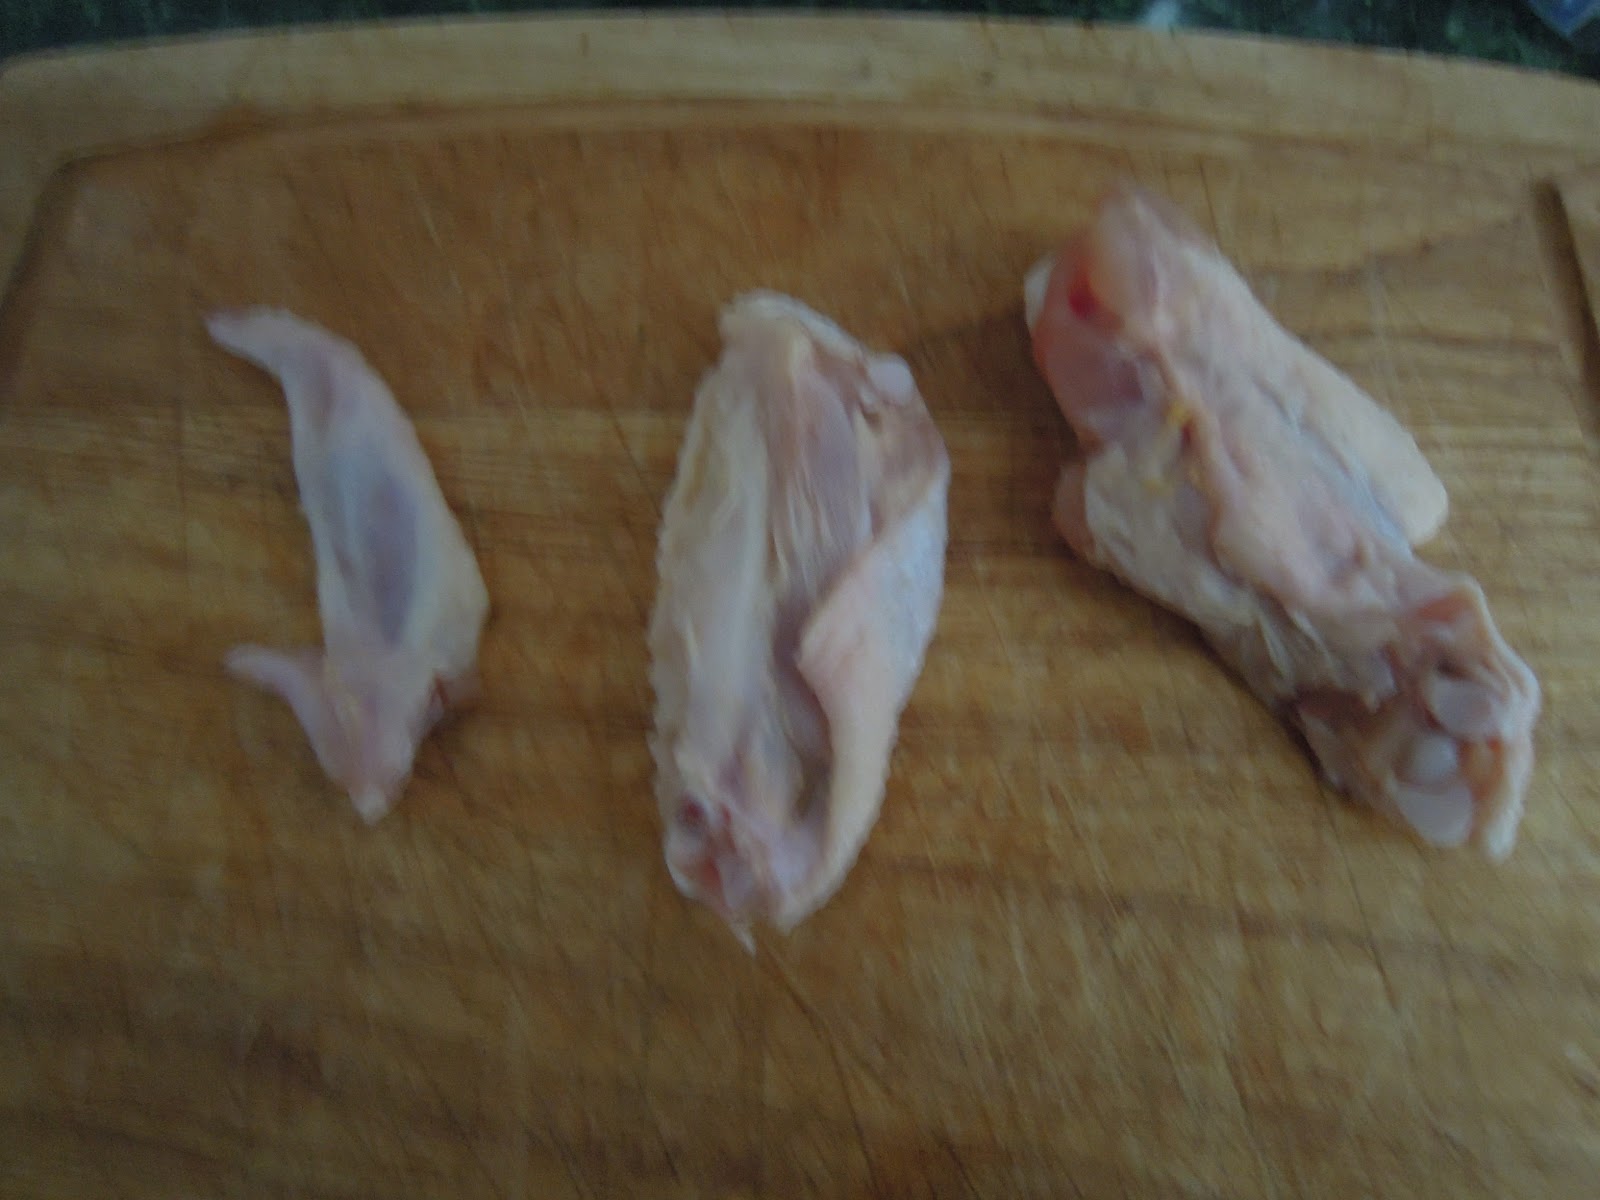
Step 1:
Cut the wings into three parts and discard the end portion. Make lollipops with each wings by cutting the meat at one end of each wing and pushing it towards the other end. Marinate the lollipops with chilli powder, ginger garlic paste, 2 tsps of soy sauce and salt (be careful when adding salt as soy sauce contains salt), and keep aside for 15 mins.


Step 2:
Prepare the batter with corn flour, all purpose flour, egg, 1 tbsp of soy sauce, 1 tbsp chilli sauce, pepper powder, food color and salt.

Step 3:
Heat the oil in a deep pan. Dip the lollipops in the batter and fry them in medium heat. (The heat should be in medium to allow the chicken to cook thoroughly).


Step 4:
Heat 1 tbsp of oil in a pan, saute the garlic and spring onions. Add the remaining soy sauce and chilli sauce and saute for couple of minute. Add a little water or stock mixed with 1 tsp of corn flour to the mixture and stir until it thickens. Add the chicken and mix well.


 Garnish with spring onions and serve..get ready to receive the praises..
Things you'll need:
Chicken wings - 3 (you can make 6 lollipops with three wings)
Chilli powder - 1 tsp
Ginger garlic paste - 1 tsp
Soy sauce - 3 tbsp
Egg - 1
All purpose flour - 2 tbsp
Corn flour - 2 tbsp
Chilli sauce - 2 tbsp
Pepper powder - 1 tsp
Salt - to taste
Garlic - 2 cloves, finely minced
Green onions - 2, finely chopped
Red food color - 2 drops (optional)
Oil - for deep frying
Yield - 6 lollipops
Method:
Step 1:
Cut the wings into three parts and discard the end portion. Make lollipops with each wings by cutting the meat at one end of each wing and pushing it towards the other end. Marinate the lollipops with chilli powder, ginger garlic paste, 2 tsps of soy sauce and salt (be careful when adding salt as soy sauce contains salt), and keep aside for 15 mins.


Step 2:
Prepare the batter with corn flour, all purpose flour, egg, 1 tbsp of soy sauce, 1 tbsp chilli sauce, pepper powder, food color and salt.

Step 3:
Heat the oil in a deep pan. Dip the lollipops in the batter and fry them in medium heat. (The heat should be in medium to allow the chicken to cook thoroughly).


Step 4:
Heat 1 tbsp of oil in a pan, saute the garlic and spring onions. Add the remaining soy sauce and chilli sauce and saute for couple of minute. Add a little water or stock mixed with 1 tsp of corn flour to the mixture and stir until it thickens. Add the chicken and mix well.


